VTP – DIRECT VISUAL TESTING
Visual examination is an essential non-destructive method used namely to examine the condition of products and facilities with the naked eye. During the visual examination the light beam between the inspected object and the inspector's eye is not transferred to another physical mode of transfer (e.g. camera).
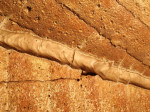
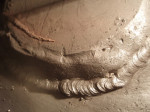
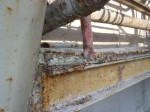
The scope of activities covered by the visual examination is very wide. The visual inspection is used to identify material flaws /e.g. welded joint, casts etc.), to check surface quality (e.g. corrosion, coating etc.), to find shape deviations (curves, shifts, matching the gauges). Visual examination basically includes anything that needs to be done with the eye. It is an absolutely indispensable part of material diagnostics.
Various tools and devices are used here. The most critical condition is sufficient lighting of the tested object. Various magnifying glasses, endoscopes and of course gauges are used, both on welds and shapes.
 |
 |
 |


